Disassembly/Cleaning/Visual Inspection
- Wash cutter before removing inserts.

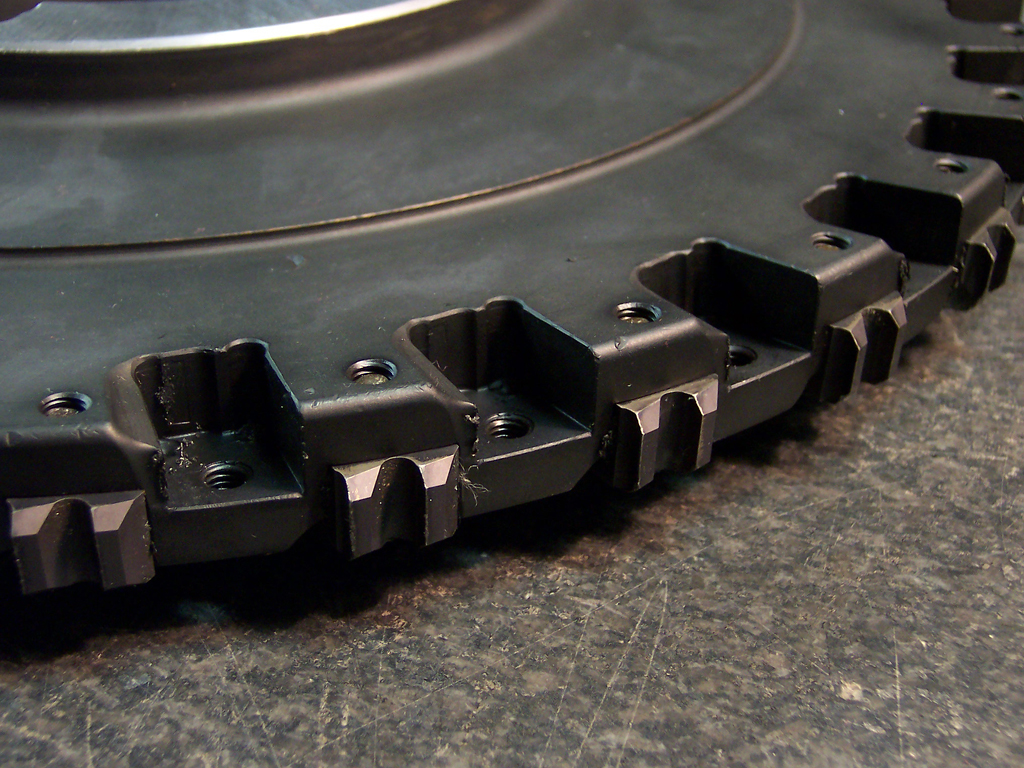
- Remove all screws from cutter body.

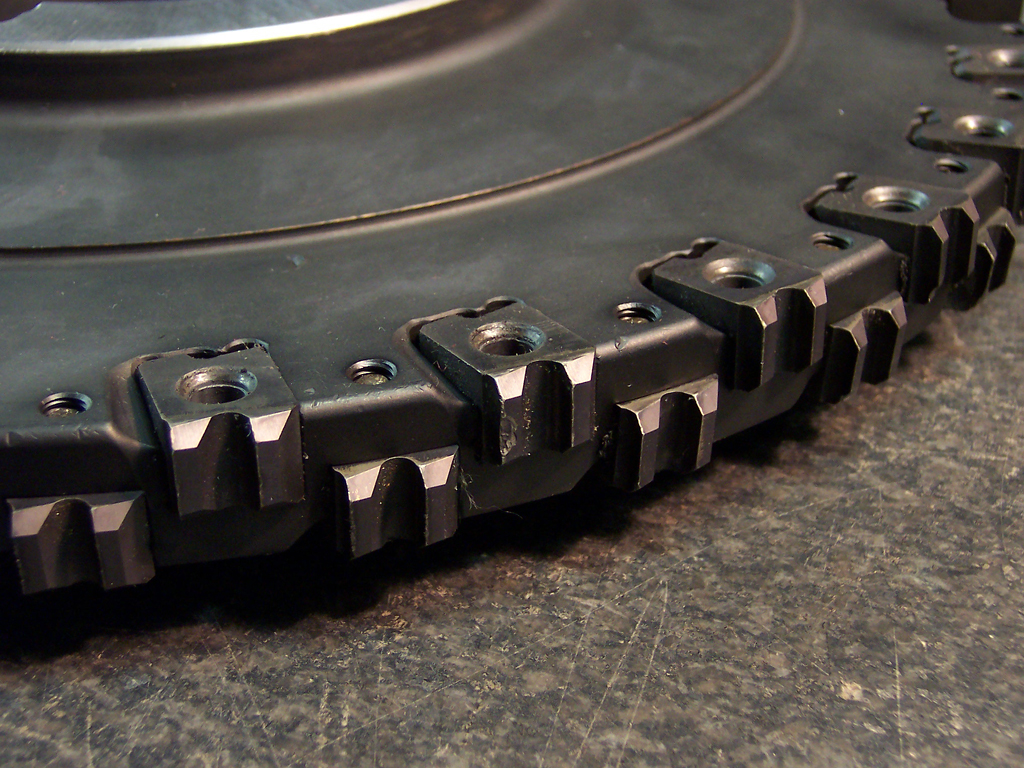
- Remove all inserts from cutter body and clean them.

- You may want to wash the cutter again without inserts.
- Clean insert pockets by removing all chips and dirt.
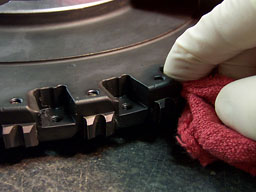
- Check insert pockets for wear or any nicks/burrs that need to be removed.

- Check and replace any screws that are damaged.
- Check for broken or chipped inserts that can't be used again. Typically you should get two indexes for right hand cutters and two indexes for left hand cutters.
Cutter Assembly/Inspection
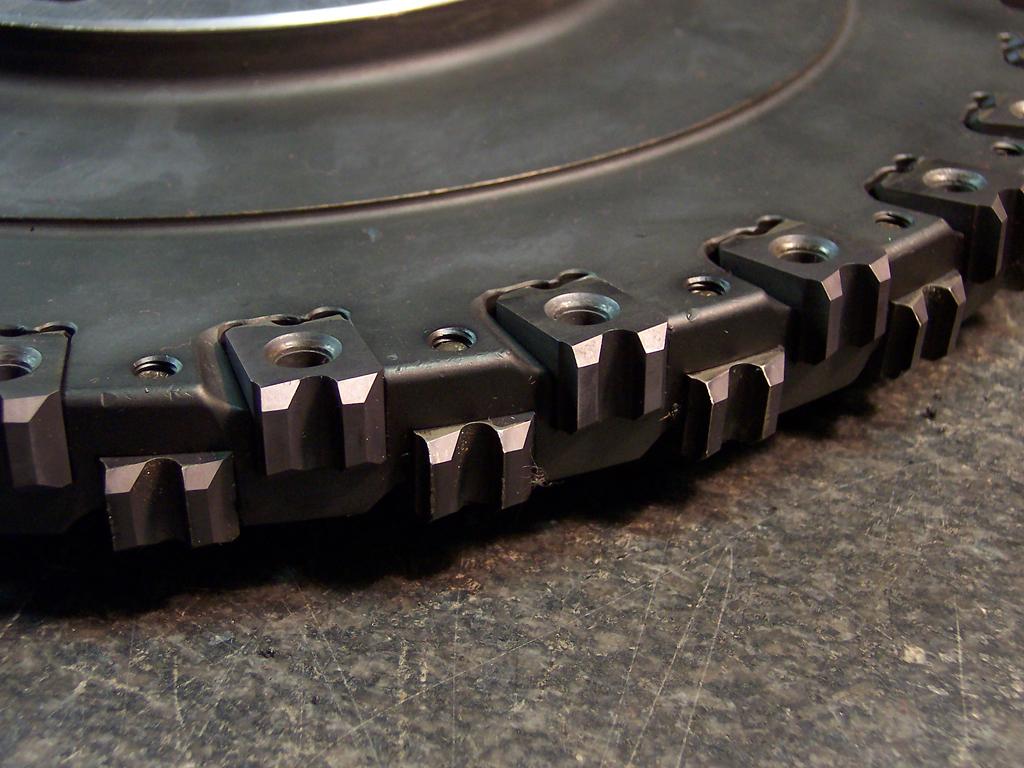
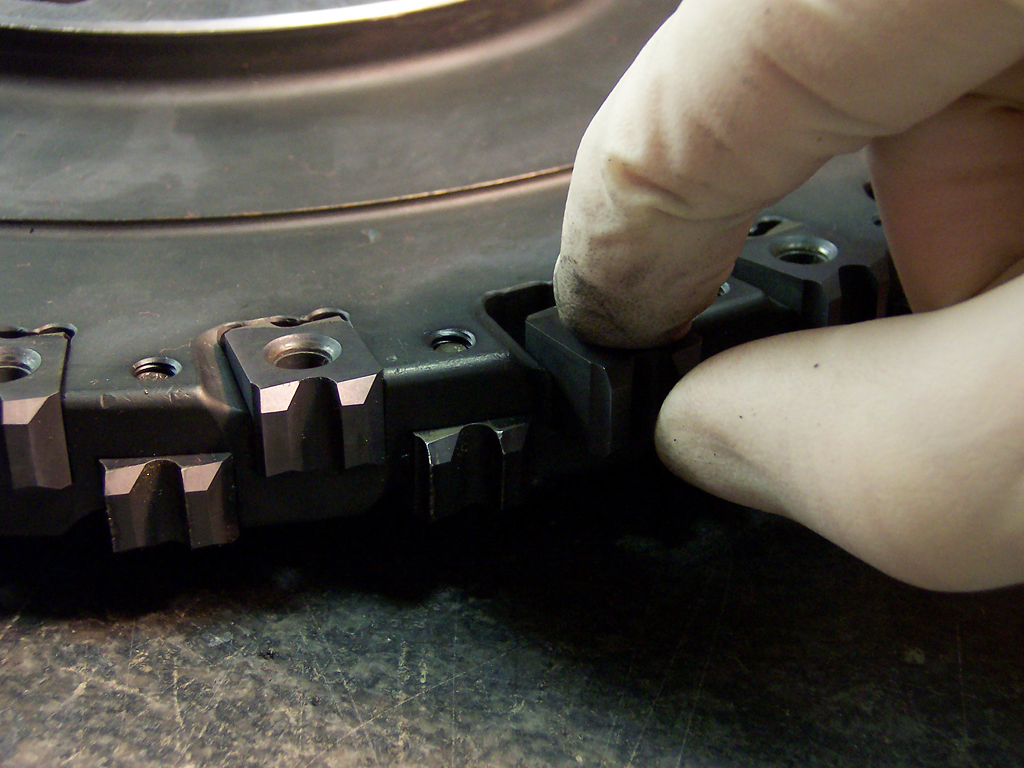
- Place the insert in the pocket with new cutting edge in the correct direction.
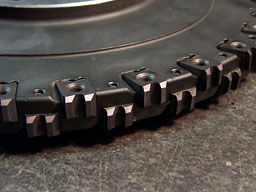
- Slide insert back and forth in the pocket to ensure that it is seated properly.


- Once seated, hold the insert into the back of the pocket by pushing with thumb or finger on cutting edge of insert.
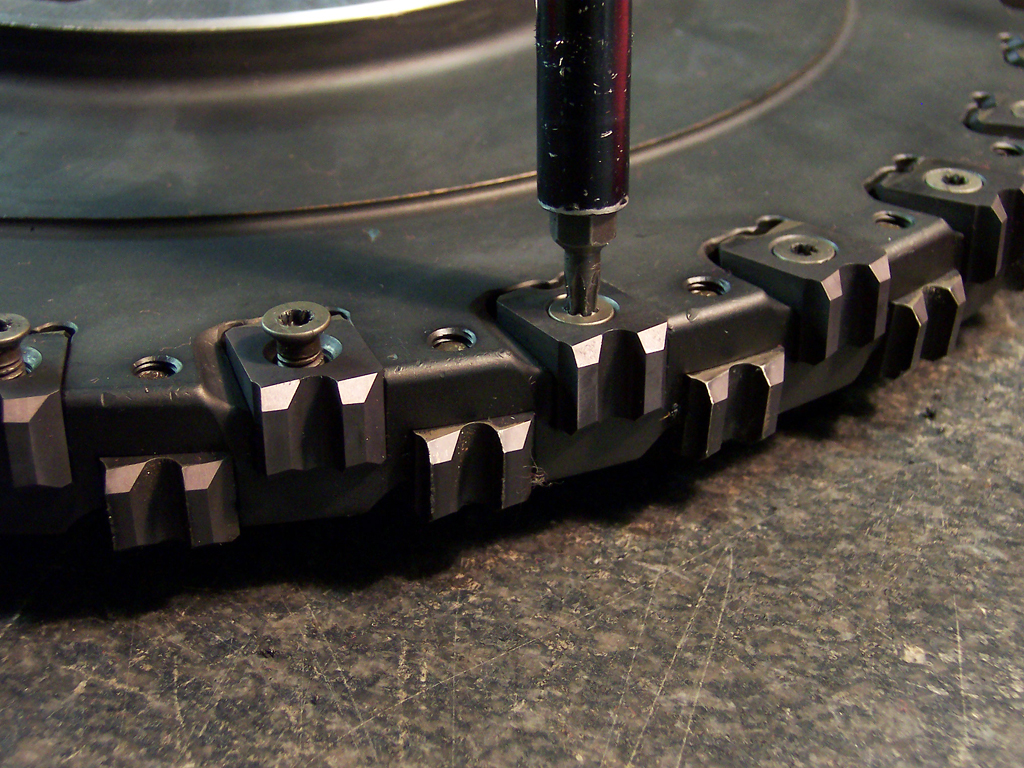
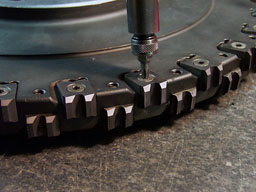
- Place the screw into the insert but DO NOT tighten completely, this will be done later with a torque wrench.

- After all inserts have been installed in the pockets, use a torque wrench to make sure that all screws are tightened to the proper torque that is recommended for that insert and screw.
Note: The insert pocket is error proofed. The screw will not go in if the insert is in wrong.
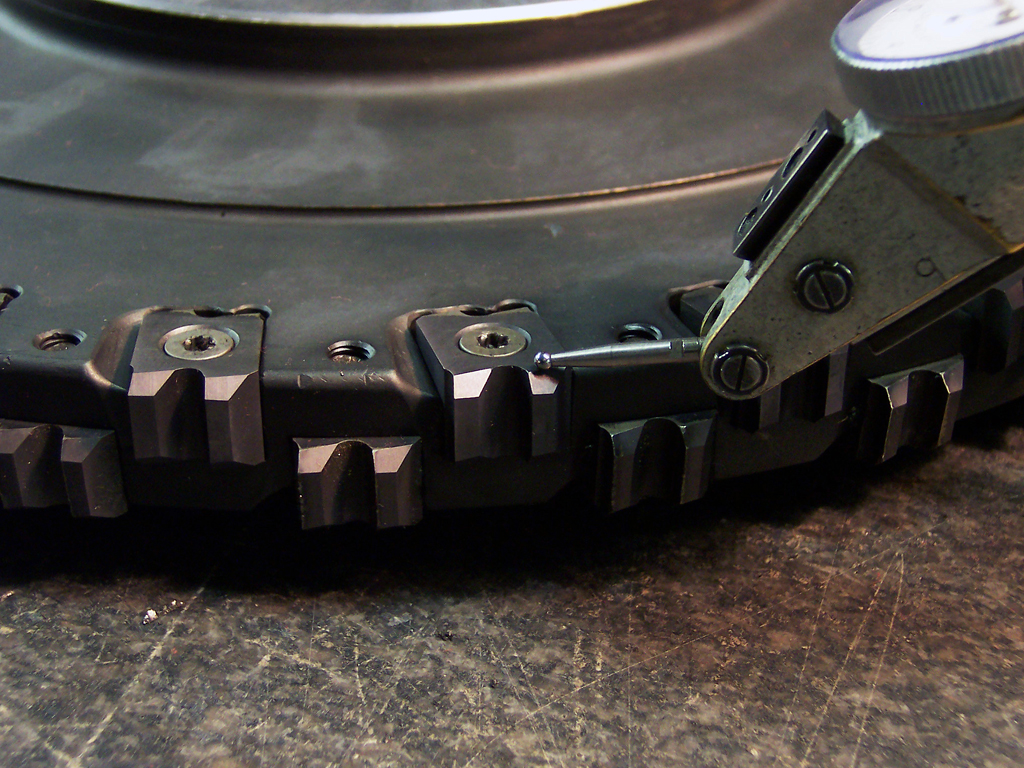
- Using an indicator, check insert face run-out. Also, check the step from wiper to highest insert if your cutter has wiper inserts.

Adapter Assembly/Arbor Assembly
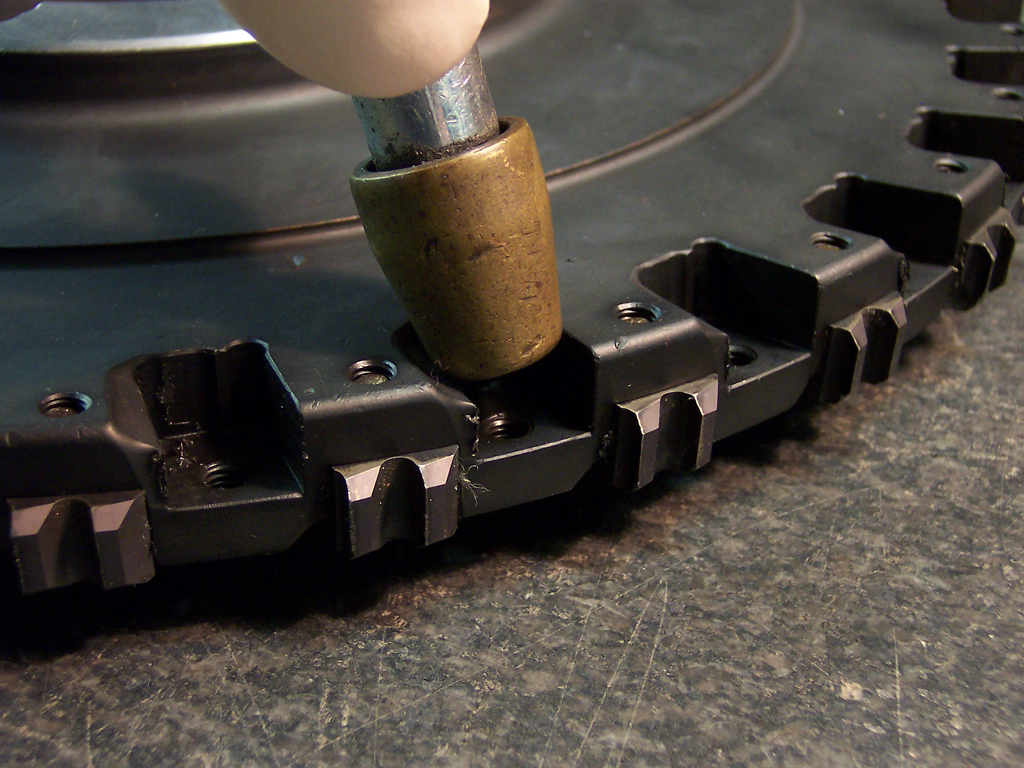
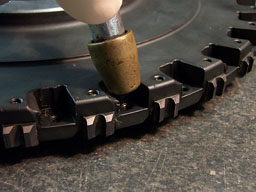
- Clean mounting surfaces of cutter and adapter. Make sure they are free of chips and burrs. Stone all surfaces.
- Check mounting detail to make sure that there are no damaged areas on the adapter or on the arbor, depending on the style you have. Stone or file any burrs that may be visible. DO NOT force any cutters onto the assembly, you will encounter problems later if you do.
- For arbor assemblies make sure that the slotting cutter is located on the proper key to insure that the inserts are staggered at the correct angle for best performance, timing is critical for best results.